• Hi Guest - Come check out all of the new CP Merch Shop! Now you can support CigarPass buy purchasing hats, apparel, and more...
    Click here to visit! here...

DIY pipe kit

kwont

New Member
Joined
Dec 12, 2010
Messages
23
I got a couple DIY pipe kits from EA Carey Smoke Shop (no affiliation, just bought these from them) in my mailbox this morning. I had ordered them in January, and they've been on backorder. I moved the last week of July, and miraculously Canada Post managed to get the box forwarded properly to my address in Saskatoon. Go Canada Post!

My woodworking skills are minimal at best. I don't know what the hell I'm doing, so I was expecting to cut off a finger, and carve a hole into the bowl.

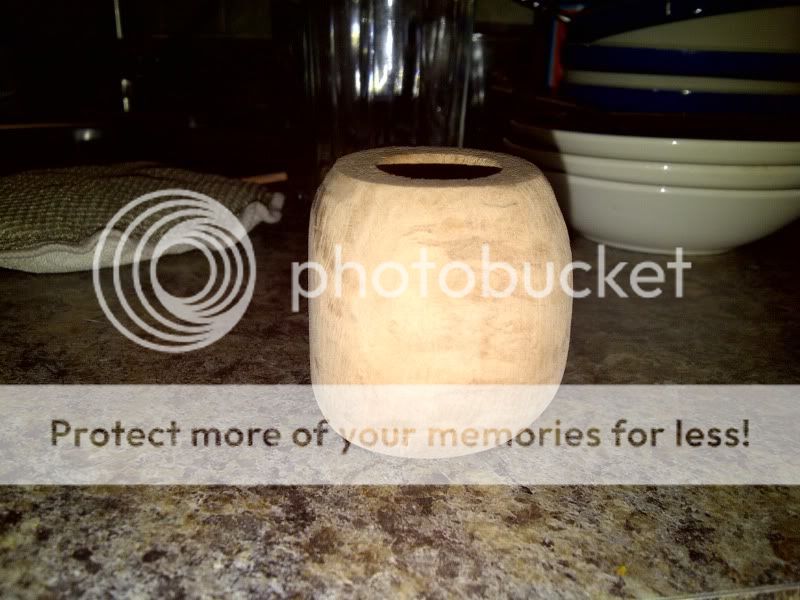
I've been working on the first one today. It started out looking like this:
Saskatoon-20110817-00030.jpg


I started off drawing on the outside of the block. That didn't last long.

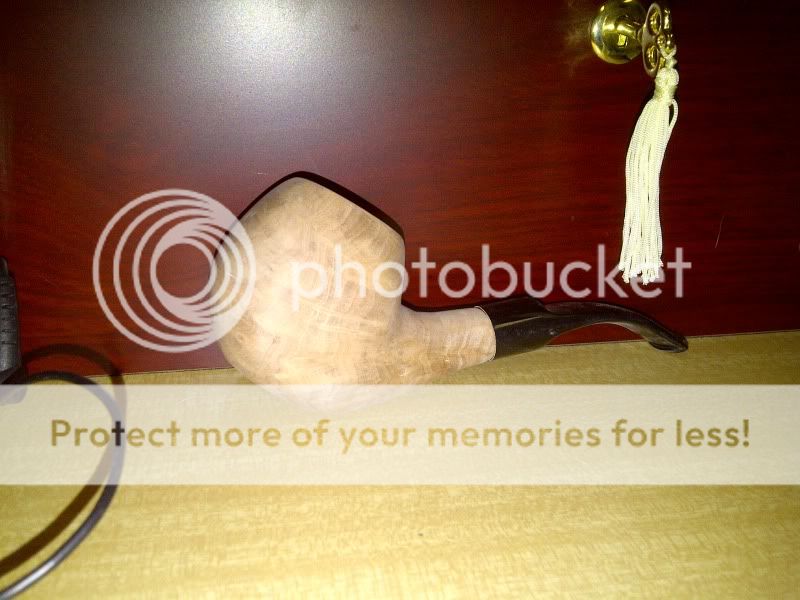
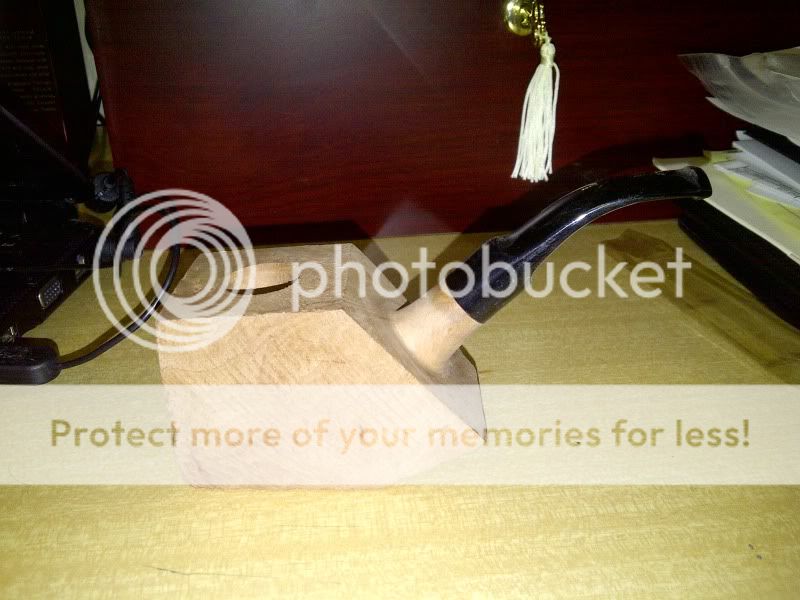
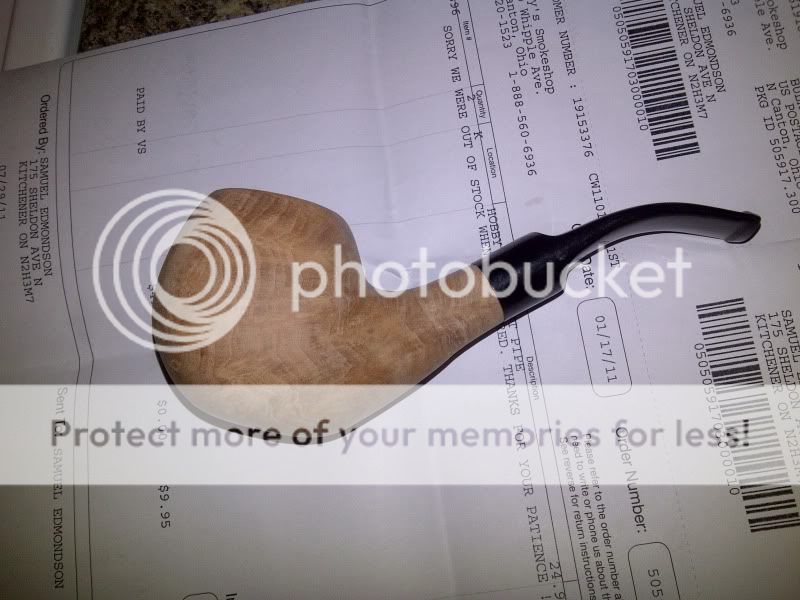
Using a dremel with a high speed cutter (the package of the one I used is Dremel #134), I went at it. After hacking away at it, I took a few pictures.
Saskatoon-20110817-00020.jpg

Saskatoon-20110817-00021.jpg

Saskatoon-20110817-00019.jpg


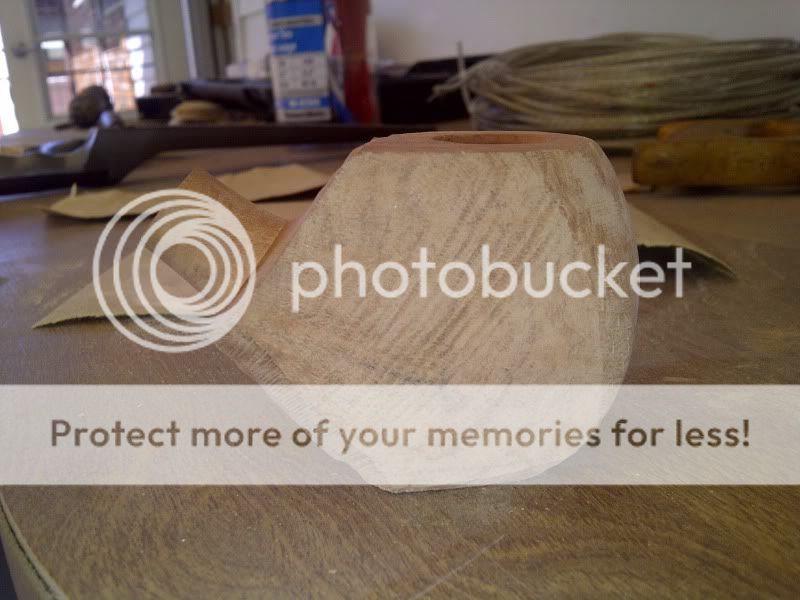
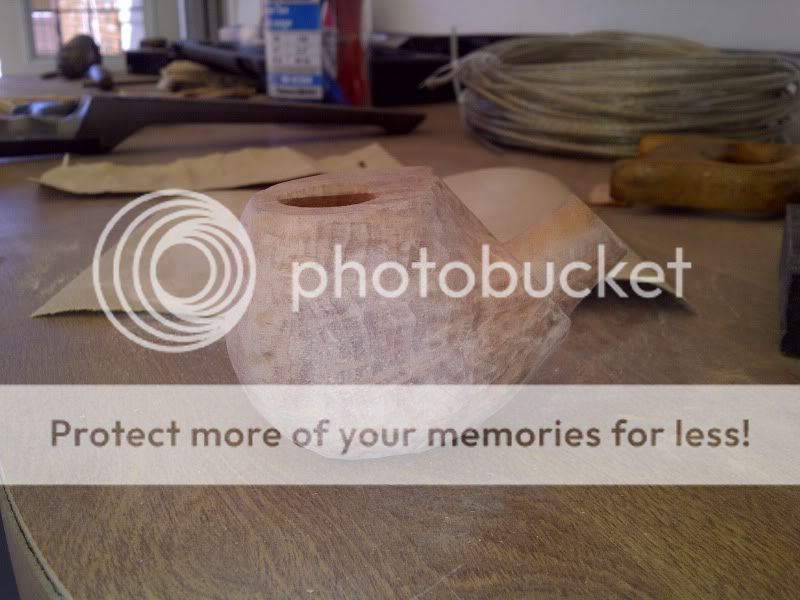
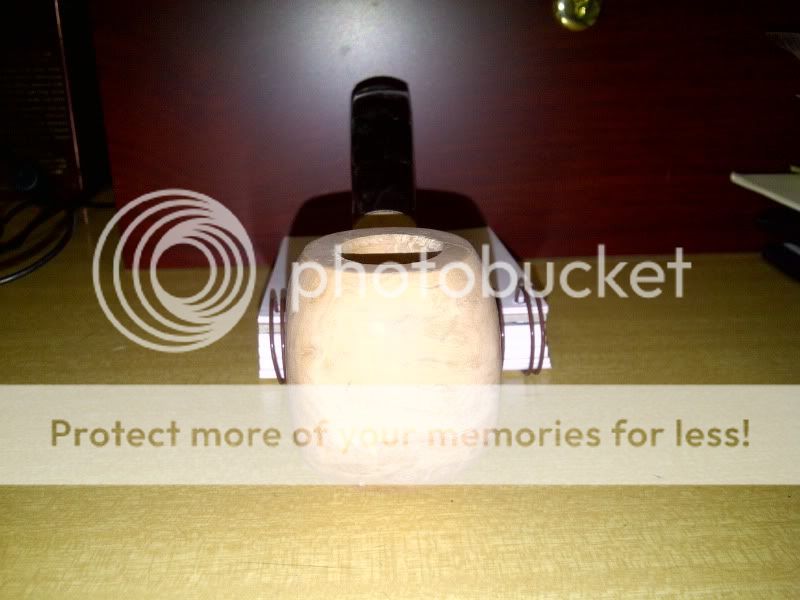
At this point I'm happy to still have all my fingers, nothing has caught fire, and the briar has the proper number of holes in it. A couple more hours with the dremel, and I had intended to take more pictures before sanding. I forgot.

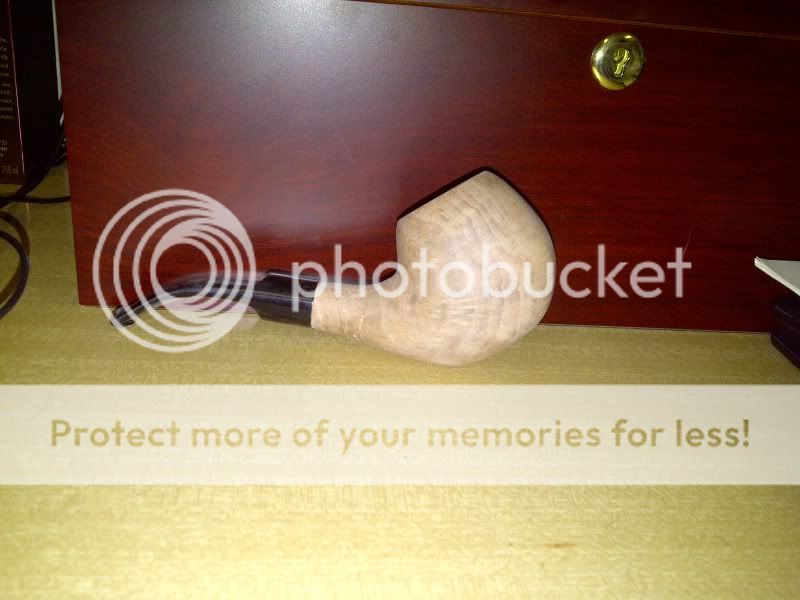
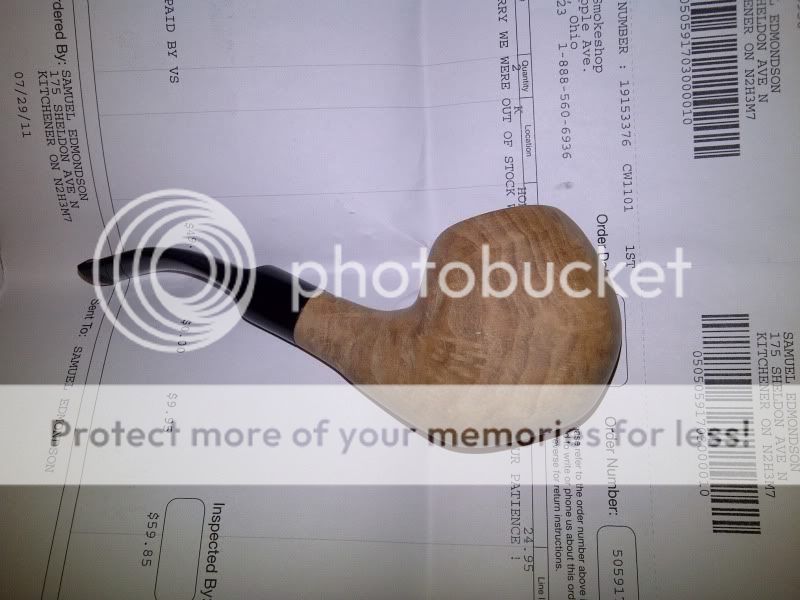
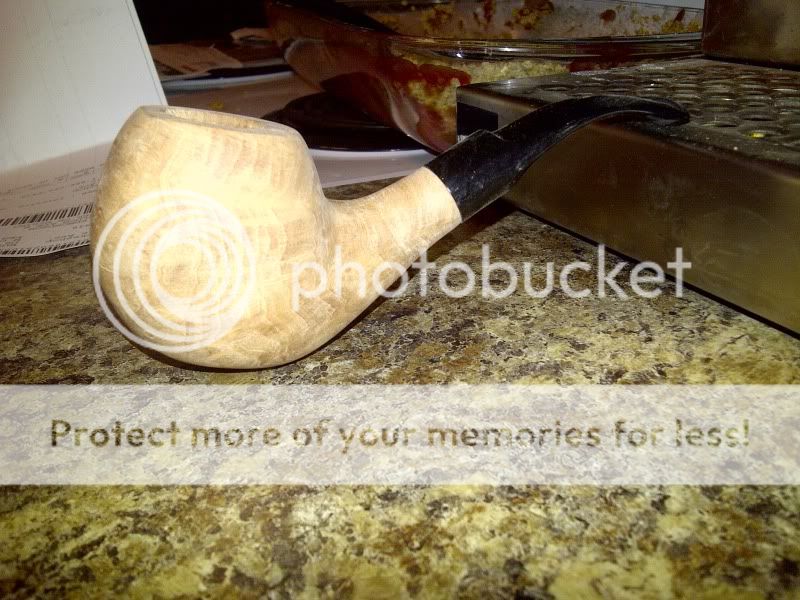
For sanding I started with some generic 60 grit I had sitting around. The briar nicely removed all the grit from the paper and came out unscathed. So I headed to Home Depot and got some Norton Heavy Removal 60 grit. Followed that up with some generic 100 grit I had sitting around.
Saskatoon-20110817-00022.jpg

Saskatoon-20110817-00023.jpg

Saskatoon-20110817-00024.jpg


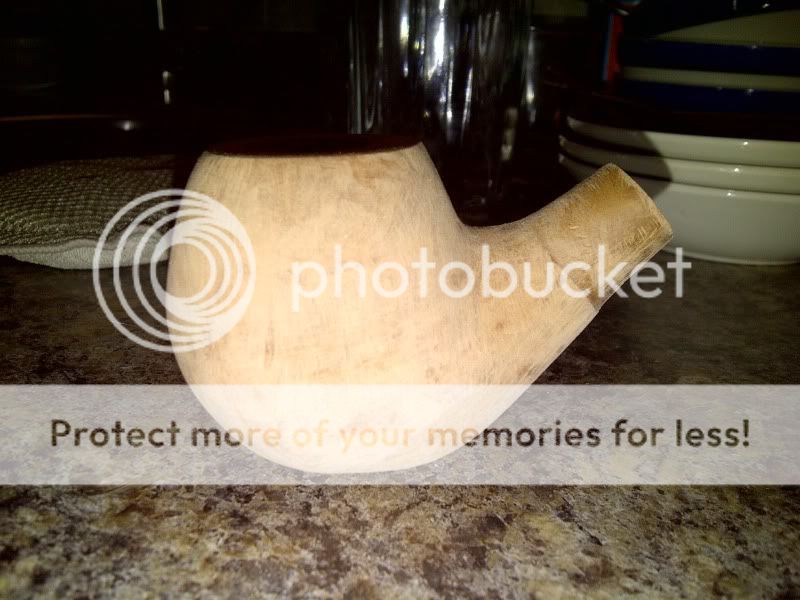
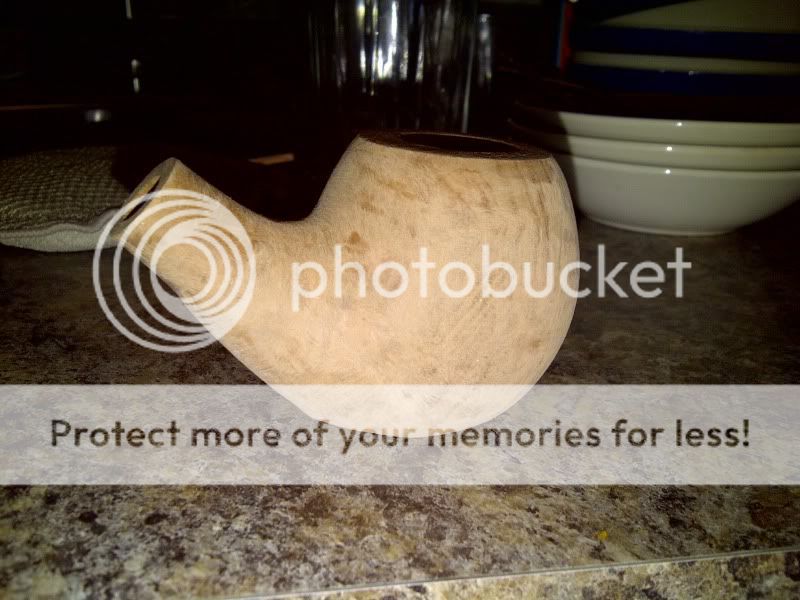
Oops, that's some terrible symmetry. So I attacked it again with the 60 grit, and followed it up with 80, 100, and 120. And that's where I've stopped for today. Tomorrow it gets the 150, and either whatever finer I've got in the garage or another trip to Home Depot.
Saskatoon-20110817-00026.jpg

Saskatoon-20110817-00027.jpg

Saskatoon-20110817-00029.jpg
 
Also on the todo list, order some stain and wax from pimopipecraft (also no affiliation, they just happen to be mentioned elsewhere in this forum.)
 
I'm not a pipe guy, but that's pretty cool. I think buying a DIY pipe kit here in the states puts you on some FBI list, though.
 
Very cool. Every time I see one of these, I think to myself that I should grab one and give it a go, but then I remember I have no artistic capabilities whatsoever. I'm sure she'll smoke beautifully. I can't wait to see her all stained and polished.

*Also - I love the avatar - is that a Harlequin Dane or a Dalmatian with a really long nose?

He's a dalmatian with a longish nose. He was jumping up on my lap at the time, so his nose looks elongated because of the fisheye effect on cheap cameras at close range.

dally1.jpg
 
Very cool. My family had one when I was a kid. He was a bit of a reject though. He had two different color eyes and was completely deaf. Great dog though. At one point in time I decided he didn't have enough spots so I took a permanent marker and added a few more. All but one eventually went away. The one that lasted was right between his eyes, it turned blue and stayed with him until the day he died. I got in more than a bit of trouble over that one...
 
Attacked it again with some 150, 320 and 1000 grit. There are some imperfections in the briar, and a few small imperfections from gouging too much.

The 320 and 1000 really showed where I needed to get at it a little more with the 120 and 150.

The wait for the stain and wax folks to reply about shipping to Canada, and getting it ordered and delivered might kill me. I desperately want to light it up!

Saskatoon-20110818-00031.jpg

Saskatoon-20110818-00036.jpg

Saskatoon-20110818-00037.jpg

Saskatoon-20110818-00038.jpg


I've been thinking about how I want to do the other of the 2 kits I got. I -think- I want to make it look like Brigham shape #84, like in the following link:

http://pipesmagazine.com/wp-content/2011-news/brigham-pipes/brigham-klondike-pipe.jpg
 
I attacked the second pipe kit for an hour or so yesterday, and again for an unknown time today.

IMGP1656.jpg

IMGP1655.jpg

IMGP1653.jpg


I still have some sanding to do on it. There are a few marks that I think should be removable without a great deal of difficulty.
 
Wow, that looks really, really cool. Nicely done! So the briar is pretty hard, eh? I'm thinking of ordering one of these now, lol!
 
It may be a few weeks before there's any more progress. The stain and wax is on order from pimopipecraft, but delivery may take a while.

The briar is moderately hard, but I think the generic 60 grit was just old and shitty sandpaper. Generic 80-1000 all worked fine. The norton heavy removal was great though, 2 pipes and I only used 1/3 of a sheet. Compared to at least a sheet each of the other grits I used, and nearly 2 full sheets of 100 and 120.

I actually started out with a cutting bit of the same shape, but from a generic. It gummed up quickly, and was better at charring than cutting, so I picked up the Dremel bit. It did all of the gouging for both pipes and still looks (and cuts) like new.
 
The stain arrived in the mail yesterday. As it happens, law school started this week as well.

My inner OCD I think will require that I go over them again starting at 60 grit, to remove sanding/gouging imperfections. But completing them (and posting the results) is still on my things-to-do in the near future list, lest this become another almost-done DIY thread.

I still can't say enough good things about norton heavy removal 60 grit, or genuine Dremel brand cutting bits. Both worked soooo much better than the generic counterparts I started with.

edit: OCD won out, and they've both been resanded using a variety of Norton sandpaper grits. The other grits are also excellent, and seem to be as durable as the heavy removal.
 
I think I did better at the gouging and sanding than I did at staining. Still to do, waxing. I expect that I'll be happier once they're waxed and buffed.

IMGP1658.jpg

IMGP1657.jpg
 
Those look great. As you stated, the waxing/buffing will bring out the colors in the stain, increase the depth and increase the contrast. Thought I have no experience with pipes, my father was a carpenter and I have enjoyed following your project. Looking good, keep us posted :D
 
Nice accents in the wood, nice job working it also. Don't forget pictures when you get the wax going.

Nice accents in the wood, nice job working it also. Don't forget pictures when you get the wax going.
 
Attacked them with carnauba wax (solid, not paste) three times now. Also included one shot with my lorenzetti Augustus for size comparison.

If I were to do it all over, I don't know that I'd really change anything significantly. I might be tempted to take off more of the briar, and I'd be more careful with the dremel while waxing. A few times in carelessness it slipped, so the chuck made contact with the pipe. Oops.

I would suggest that if you've got the tools (or don't mind spending a few bucks to get them), it's a fun project. I'm no woodworker, but all things considered I think I'm happy with how they've turned out.

If I had to do it again, I'd gouge/cut off a little more briar, and I'd spend more time sanding. Especially after waxxing, surface imperfections become much more apparent once it's stained.

IMGP1659.jpg

IMGP1660.jpg

IMGP1661.jpg


Something else worth mentioning. I really had no idea what to expect as far as grain pattern when I started. It was sort of interesting seeing what emerged as it got gouged and sanded.
 
I've been following this thread since you started. I have to say you did a great job. From the carving, sanding, staining and waxing I think they turned out great.
I have thought about doing one of these kits as well, just didn't know how much was involved until you showed us.
Let us know how they smoke!
 
Thanks!

I smoked some brigham Mark Twain in the one on the right after it got a couple applications of wax (and sat a day). It smoked as well as the Lorenzetti. But I'm still not so good at getting a consistently packed bowl, so I may have packed it well or I may not have packed the lorenzetti so well recently. Either way, I took advantage of the relaxing properties of a good bowl.

I'd encourage anyone who is interested in trying it to do it. None of the steps is super hard on its own. Visualizing where the bowl and airway are inside the block you're carving out is a little mindbending. And getting an even application of stain is a challenge as well. But... once it's approximately the right shape, you can use sandpaper and have a better idea of the 3d space you're working with than cutting off bits with the dremel, and you can always sand away stain. So even the hard parts are manageable!
 
Dang, the one pipe has so much character it is a delight to the eyes. You did a fine job and have the right to be proud. WTG brother.
 
Top