-
Hi Guest - Come check out all of the new CP Merch Shop! Now you can support CigarPass buy purchasing hats, apparel, and more...
Click here to visit! here...

You are using an out of date browser. It may not display this or other websites correctly.
You should upgrade or use an alternative browser.
You should upgrade or use an alternative browser.
China Hutch Humidor Conversion with Pics!
- Thread starter Goble
- Start date
Unclebillybonz
Member
- Joined
- Aug 26, 2008
- Messages
- 574
That is awesome! Thanks for sharing.
Goble
New Member
- Joined
- Apr 20, 2014
- Messages
- 11
Finally got my Internet back up and running!
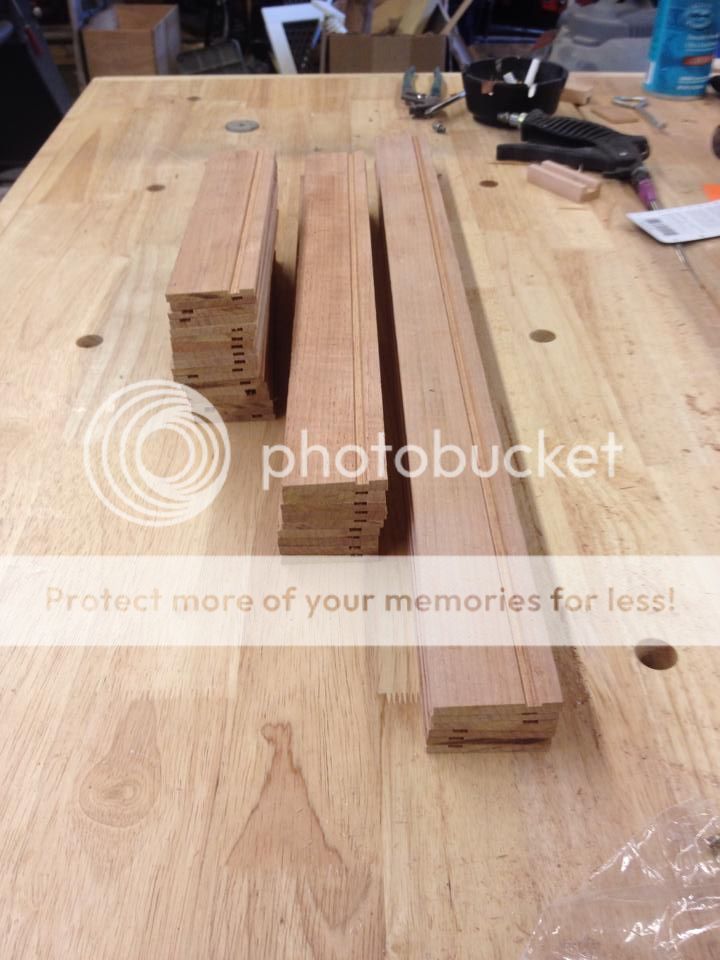
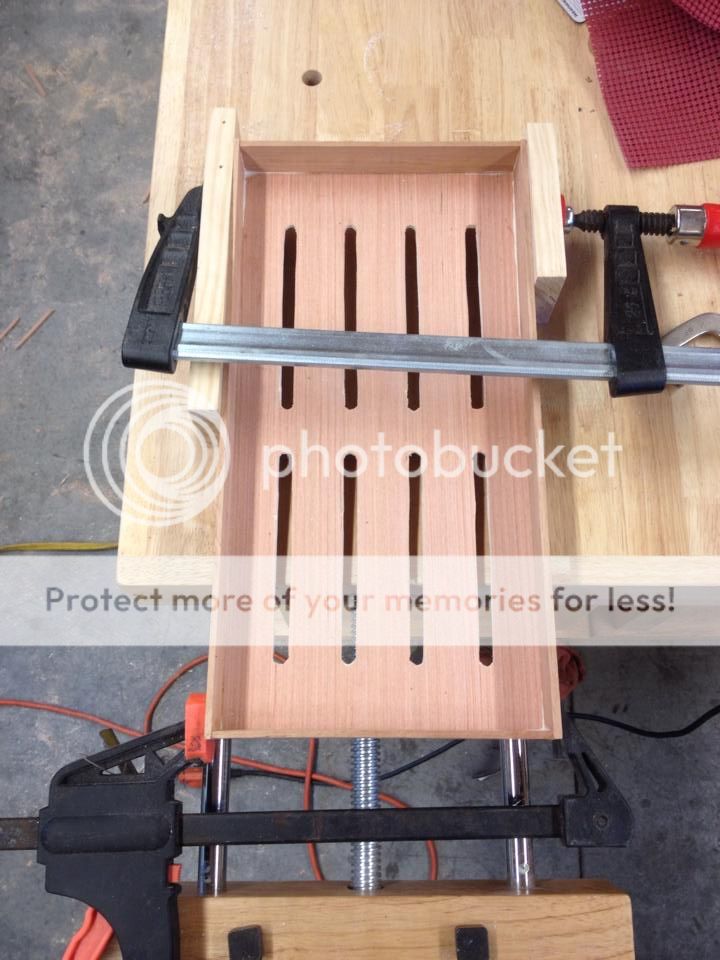
(#52) All strips to form the outside frame of the shelves cut out and grooved to receive the bottom of the shelf.
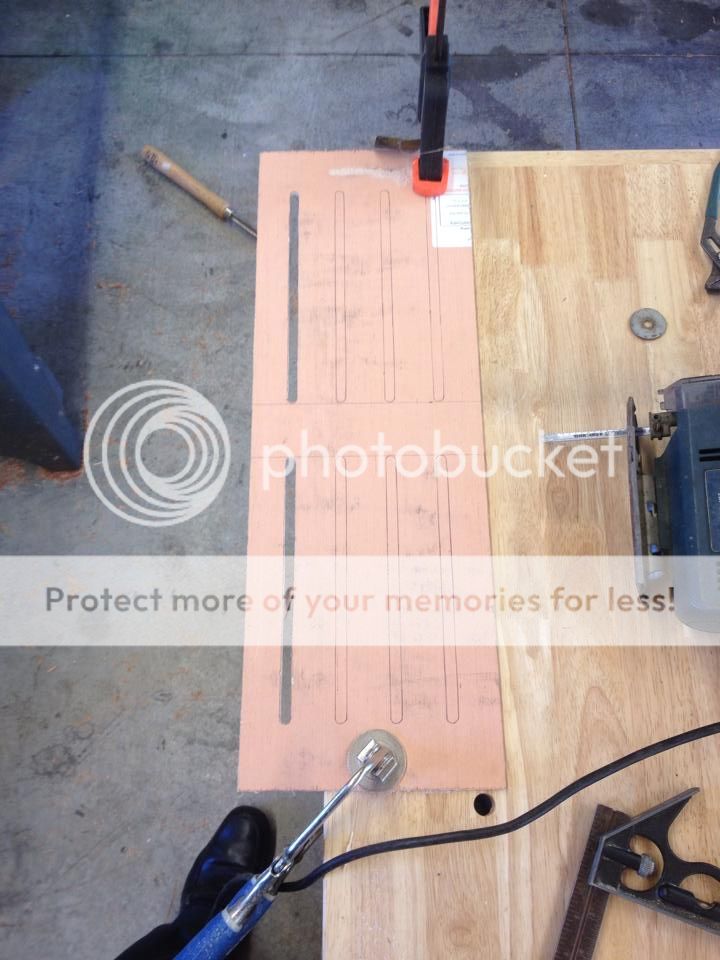
(#53) Cutting the air circulation holes in the bottom of the shelves.
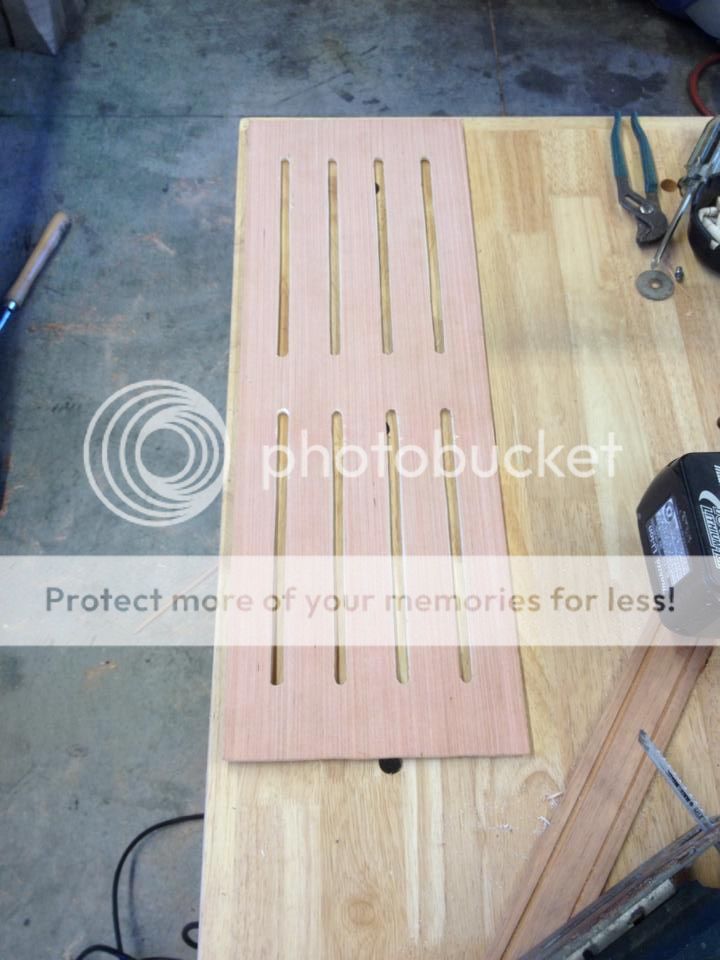
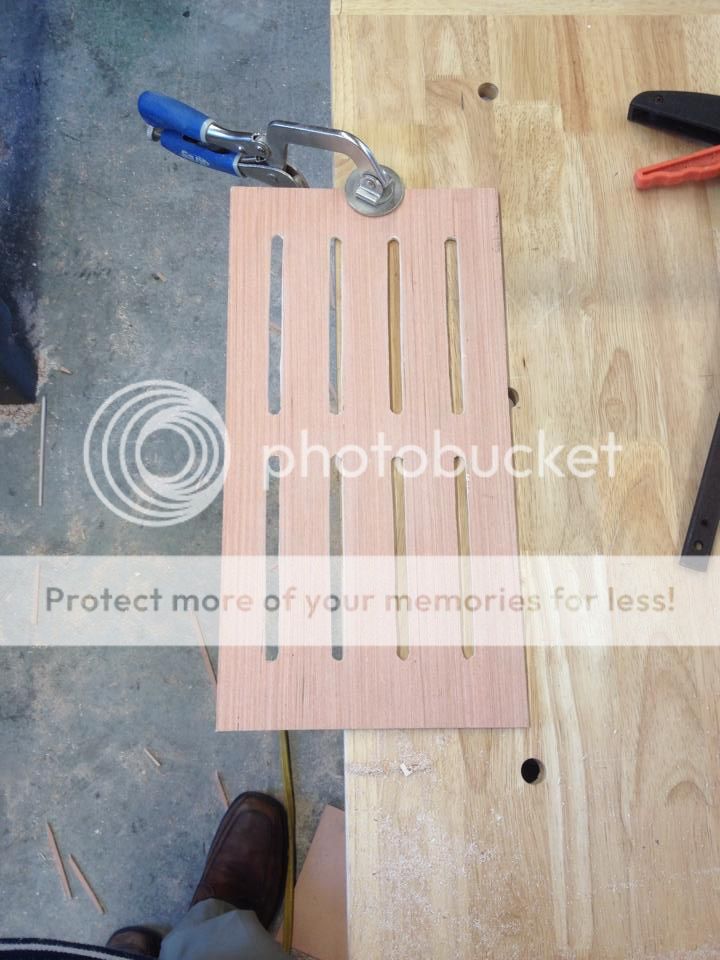
(#54) First shelf bottom cut out!
(#55) First shelf glued together and finished!

(#56) Short shelf bottom.
(#57) First short shelf glued up.
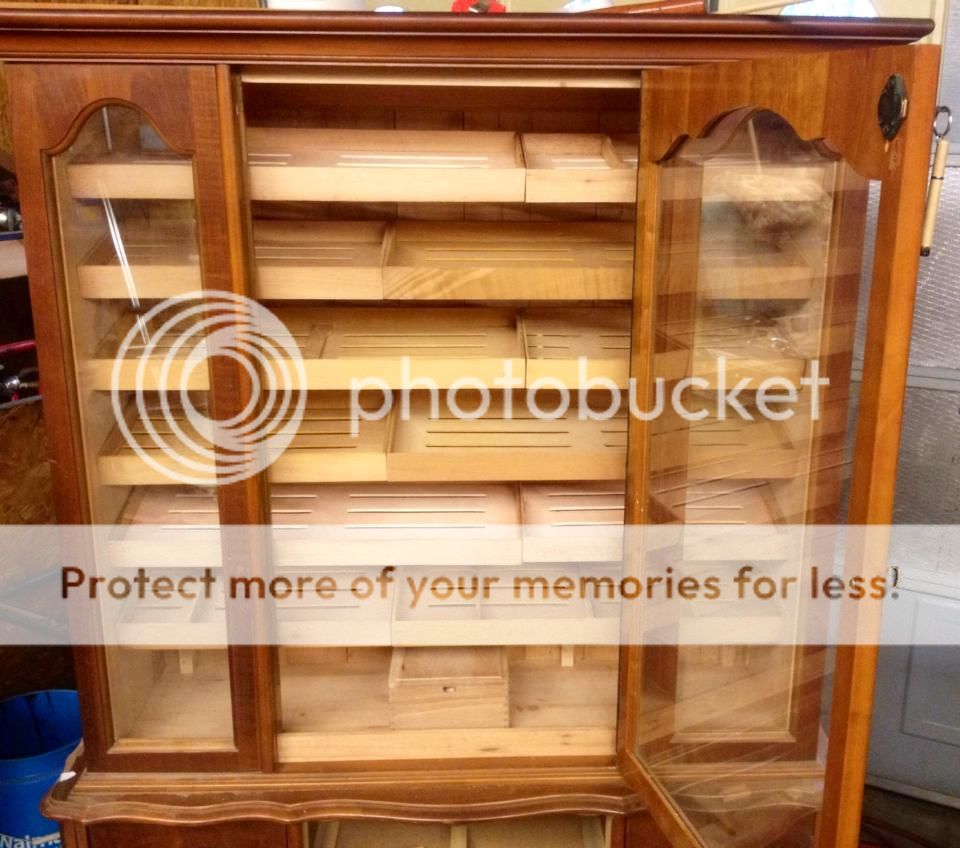
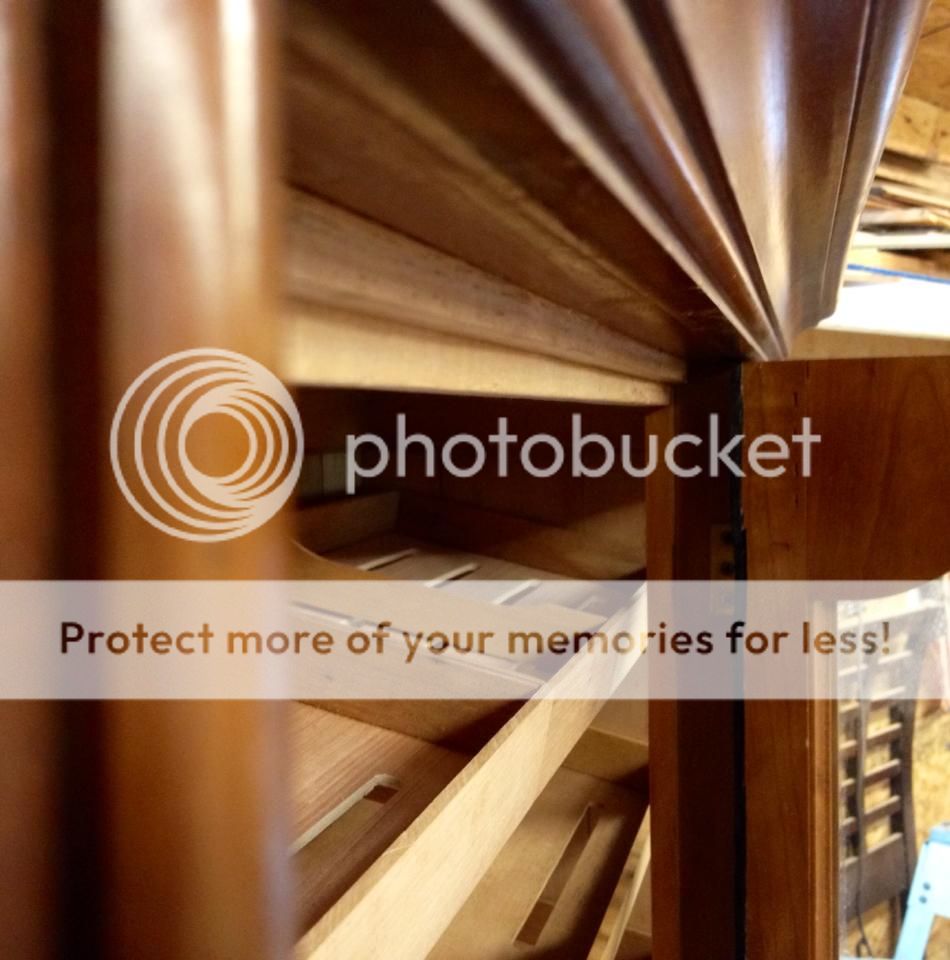
(#5 All shelves finally in! Decided to take the bottom one out in order to have a place to store full boxes of cigars. Think I still got plenty of space for singles LOL!
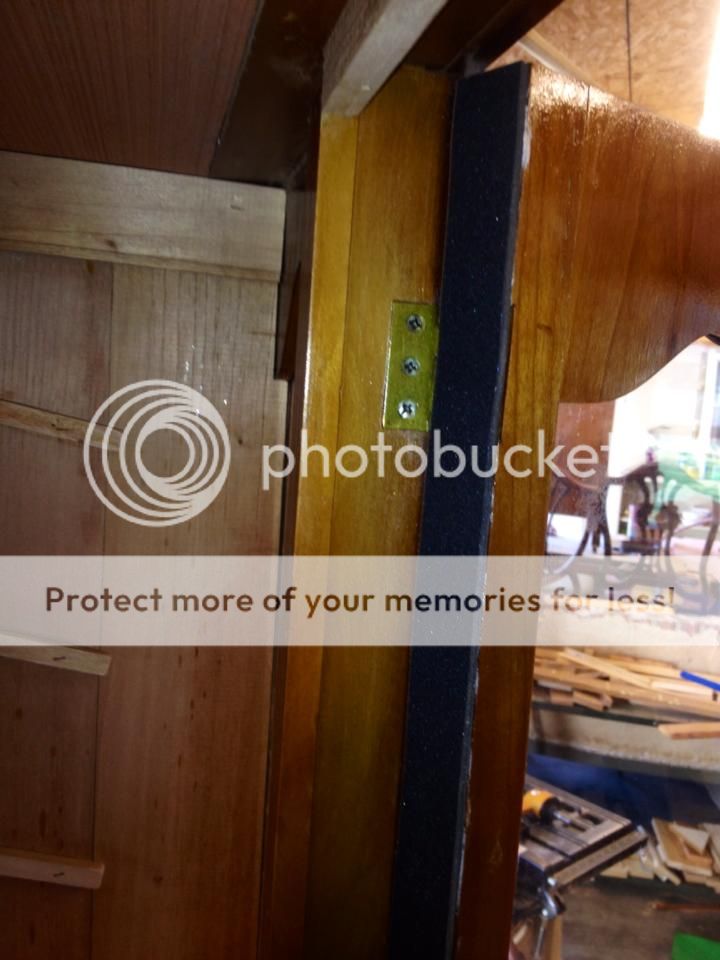
(#59) On to sealing around the door. Don't want a 100% air tight seal in the cabinet, but at least a 90%. It needs a little fresh air circulation in order to avoid molding. Ran foam sticky back weather stripping up the hinge side.
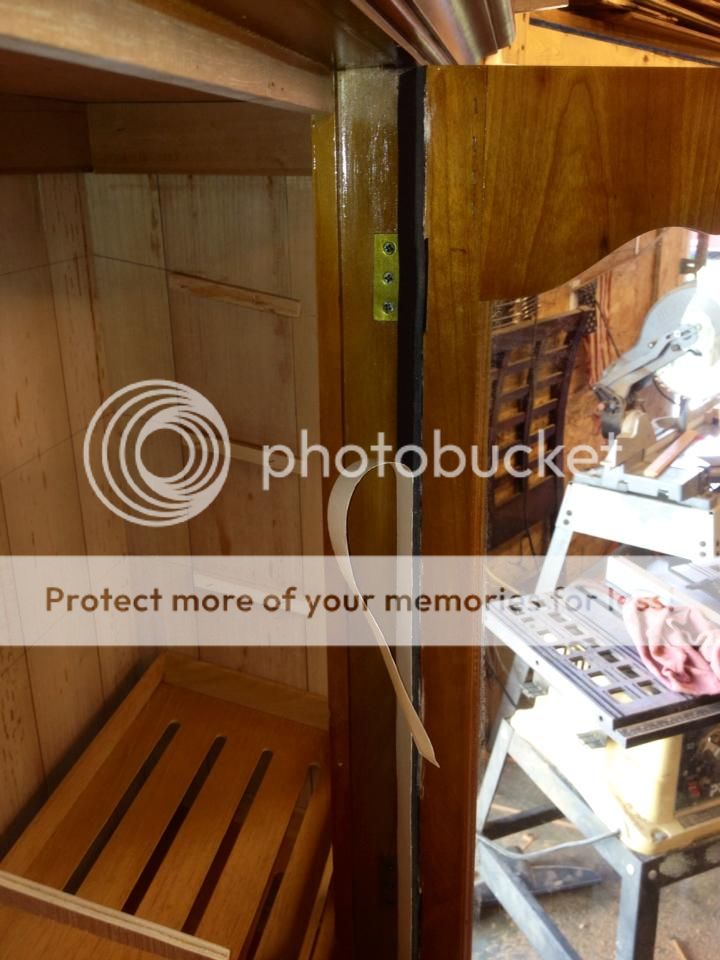
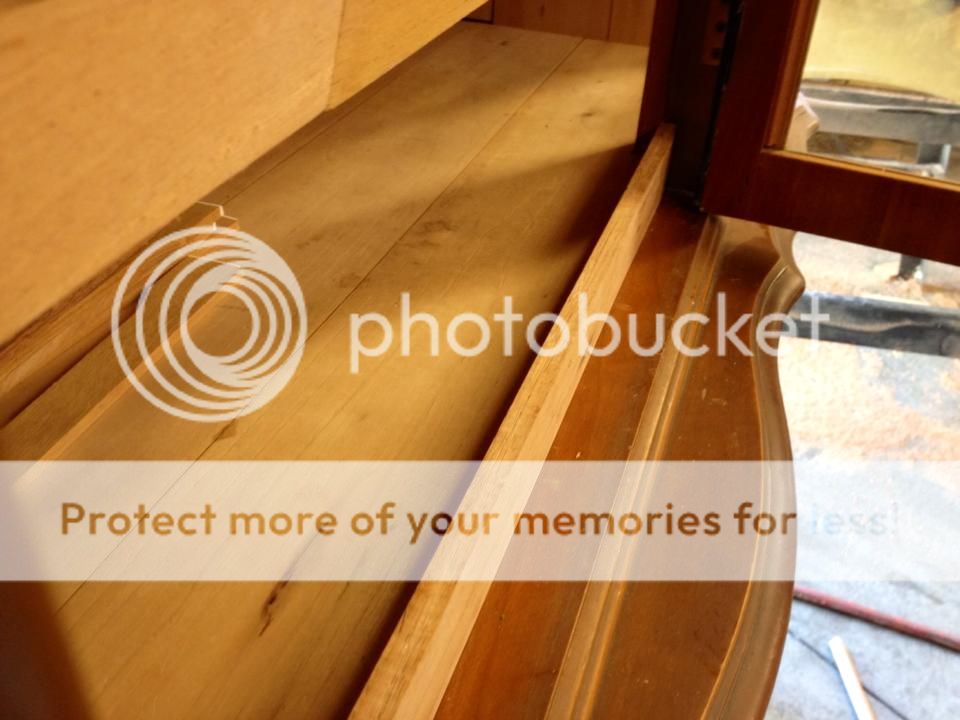
(#60) Bottom door seal. Used crushable Oasis floral foam all around the door to get the exact gap that needed to be filled for a tight fit.

(#61) Top door seal done in two pieces.
(#62) Seal on the locking side.


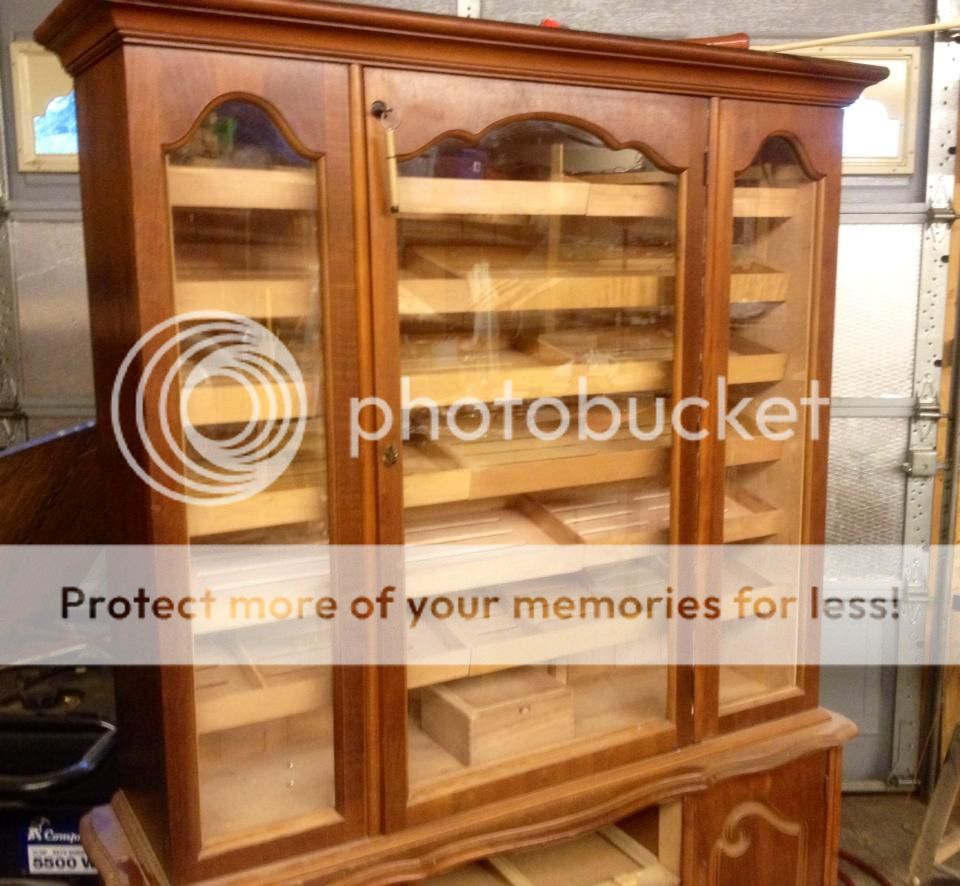
All and all its starting to come together nicely!
(#52) All strips to form the outside frame of the shelves cut out and grooved to receive the bottom of the shelf.

(#53) Cutting the air circulation holes in the bottom of the shelves.

(#54) First shelf bottom cut out!

(#55) First shelf glued together and finished!

(#56) Short shelf bottom.

(#57) First short shelf glued up.

(#5 All shelves finally in! Decided to take the bottom one out in order to have a place to store full boxes of cigars. Think I still got plenty of space for singles LOL!


(#59) On to sealing around the door. Don't want a 100% air tight seal in the cabinet, but at least a 90%. It needs a little fresh air circulation in order to avoid molding. Ran foam sticky back weather stripping up the hinge side.


(#60) Bottom door seal. Used crushable Oasis floral foam all around the door to get the exact gap that needed to be filled for a tight fit.


(#61) Top door seal done in two pieces.

(#62) Seal on the locking side.


All and all its starting to come together nicely!
whylieineedacigar
Yolalatlpwry
- Joined
- Dec 2, 2013
- Messages
- 1,839
Very nice, keep those pictures and updates coming!
Pugman1943
Well-Known Member
- Joined
- Jul 15, 2009
- Messages
- 7,727
Oh my that is sweet. Enjoy watching the progress. Are you having a herf when this is complete ( lol ). Great job brother.
Puros Locos
Permanent FNG
- Joined
- Jan 10, 2011
- Messages
- 485
Great build. This will come in useful in the near future. I started the same exact project, but haven't had the time to start installing the Spanish cedar. Are you planning on converting the bottom section?
Edit: Nevermind the question. I just reread the OP.
Edit: Nevermind the question. I just reread the OP.
Goble
New Member
- Joined
- Apr 20, 2014
- Messages
- 11
Thanks for all the positive comments! Its still not quit done yet, but I have been hard at work and have made some major progress, as can be seen by the following pics!
(64) Cutting and splicing in extension leads for the LED lights that will run from shelf to shelf. Pretty easy, just cut the strip on the little scissor lines. Then with a razor blade cut through the silicone coating.
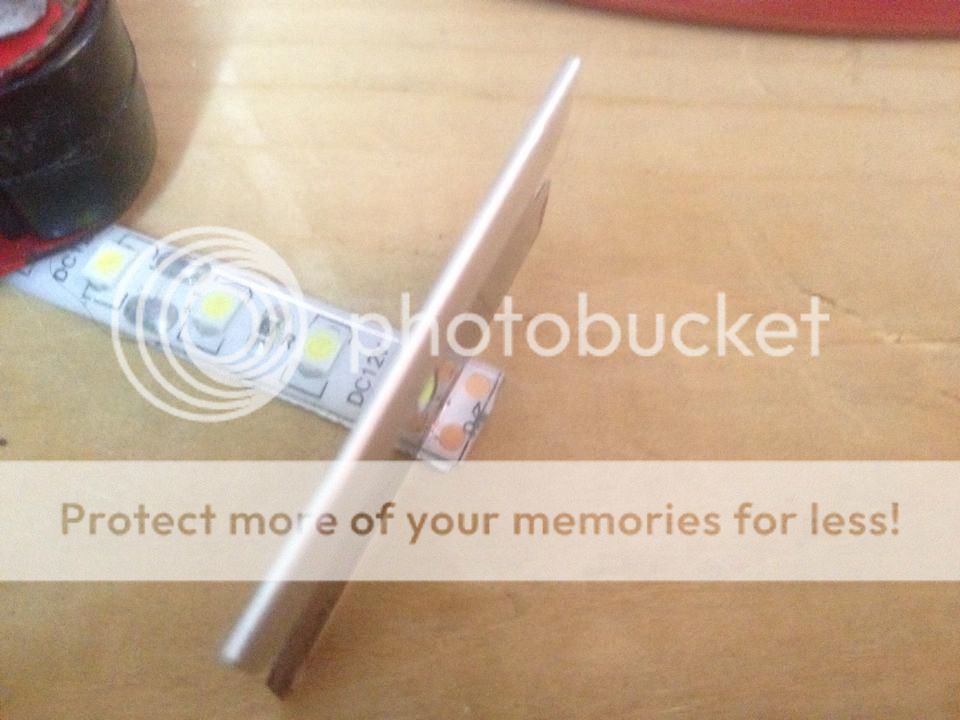
(65) Be careful not to cut through the circuit board. Only enough to clear the silicone and uncover the contacts.

(66) Tin the wire ends.
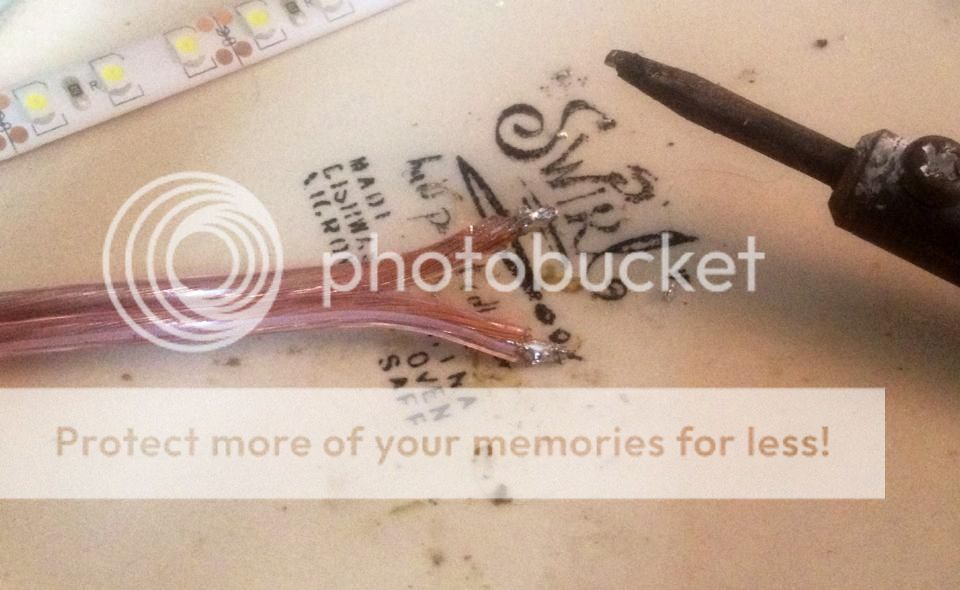
(67) Also Tin the contacts on the light strips. Tinning both the wires and contacts is a key part to getting a good Solder Joint. If you have a cold joint, which is where it melts to one side and not the other the lights will not work!
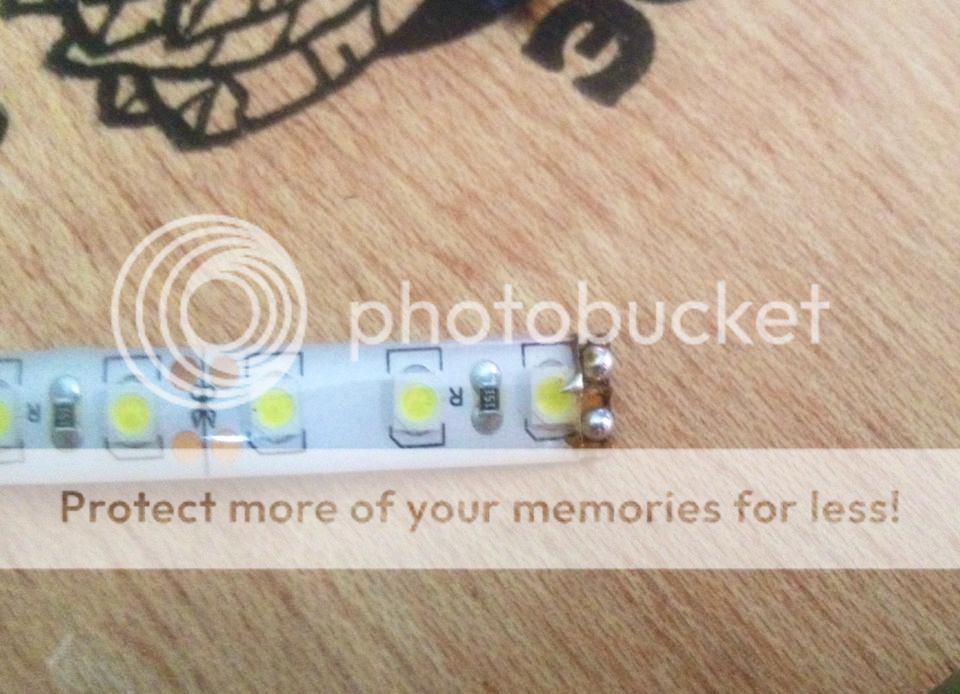
(68) Soldering complete with the wires and contacts melted together. Tug on the connection to make sure it is good.

(69) Add a little silicone to the connection to make it water tight and apply Shrink Wrap.

(70) Installing lights in cabinet. You can see the jumper wire extensions I had to add in on the sides for the distance between each shelf. The two wires in the center will connect to the back of the control box.

(71) 1,200 LED lights installed with two 600 LED Light Strips!
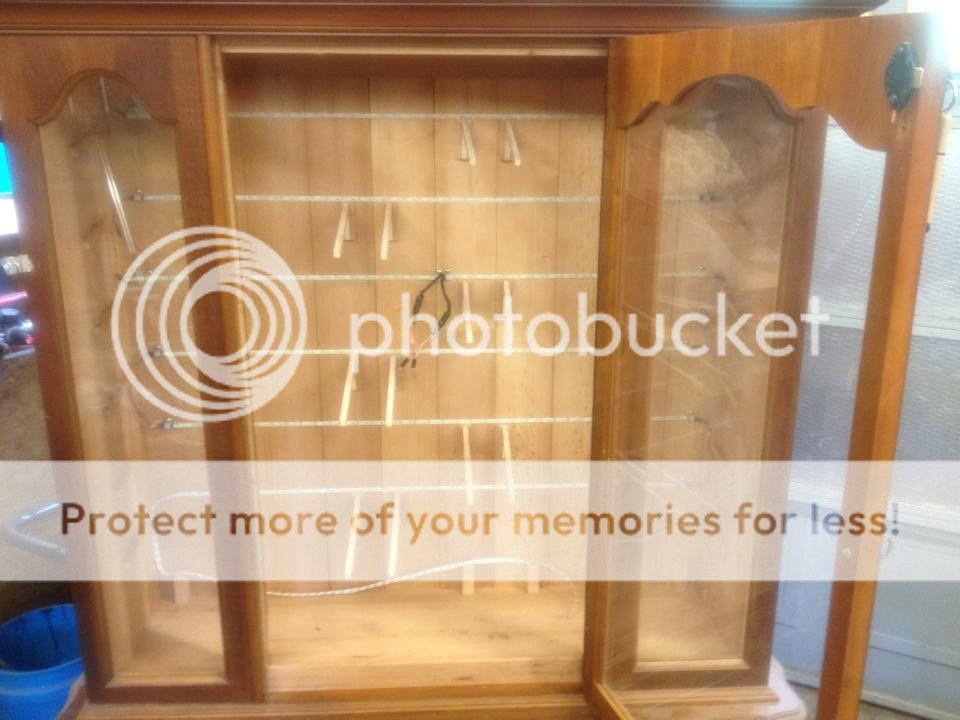
(72) All lit up! The indicator lights in the box have since been toned down a bit, as well, as can be seen in latter pics.

The next set of pics is a bit of a surprise I have been working on. I didn't want to mention it until I knew I could do it and make it happen. So, after having originally deciding to go with a Habitat Monitor and researching the only three custom Active Humidifying Systems on the market at $300 - $500 plus I decided to design my own. I can also custom make these for anyone who would want a active system. Lot of work and time in this, but I'm dang proud of it!!!
(73) Introducing the GC1-4 Humidification System!

(74) All the humidification fans in the boxes will be connected with DC plugs for a clean install and ease of removing the boxes for water refills.
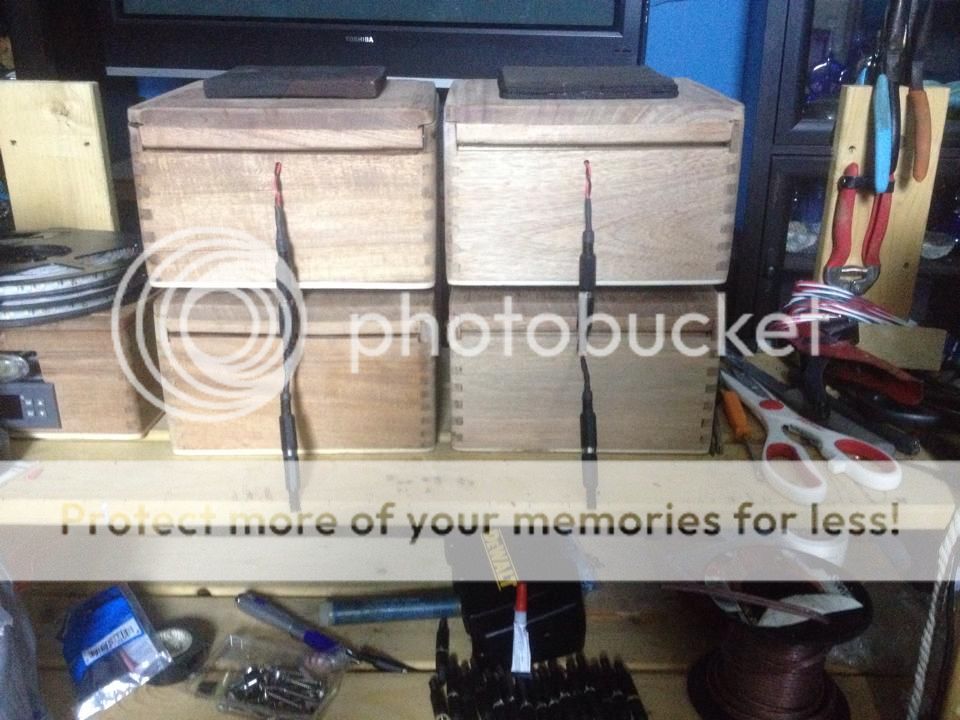
(75) One of the boxes with fan installed and before the silicone treatment to seal it.

(76) Each unit was first lined with a thin layer of silicone then three coats of Plasti Dip followed by another thin skin coat of silicone. Very, very water tight. Each box holds just over two quarts of water for a total of 2 1/2 gallons for the system. I will be using humidification crystals in these, as well.
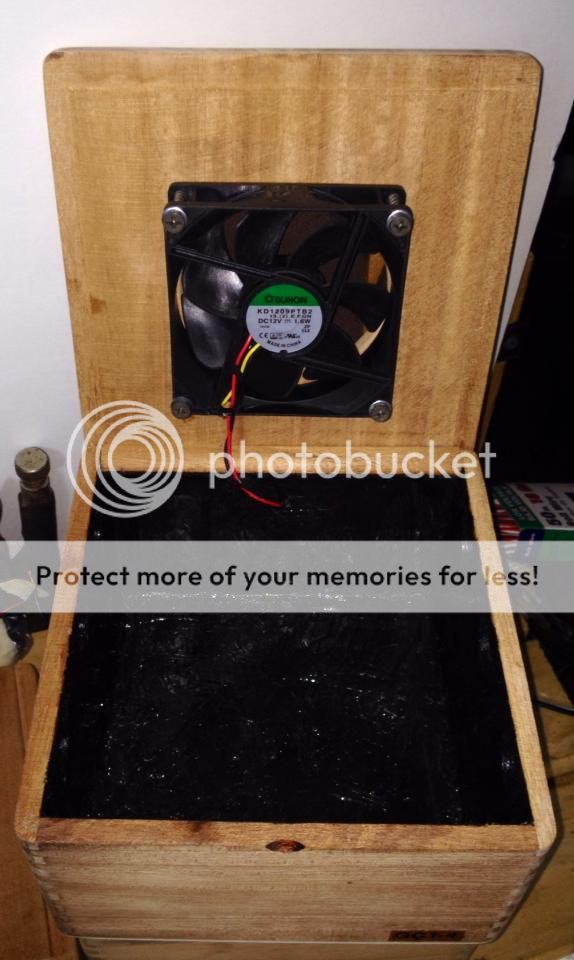
(77) For those who might be seeing this an don't know exactly how it all works, the fans will blow across the water forcing moist air out of the breather holes in the boxes, thus humidifying the air inside the cabinet.
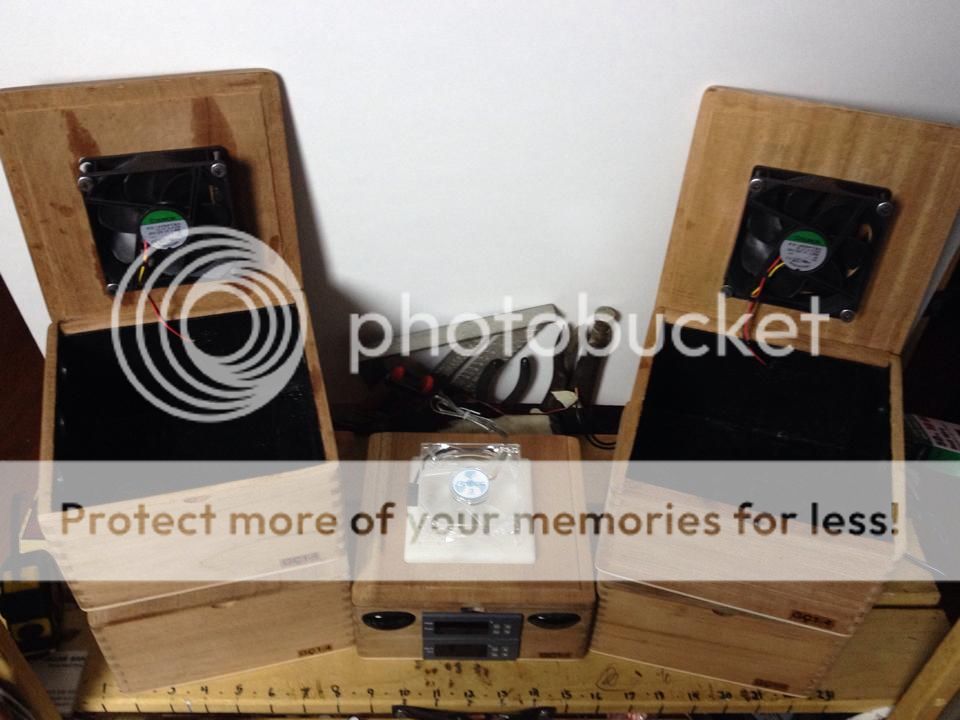
(78) The brains of the system is ran by a Willhi Humidity and Temp Controller. This will kick the box fans on at 69% Humidity and off at 71% or whatever the set point is. It was within .03 accuracy by the salt test right out of the box! The Temp Controller can control a heating and/or cooling unit. I will have it hooked to the AC Unit in the room with the probe inside the cabinet and set to kick on at 70 degrees and off at 71.

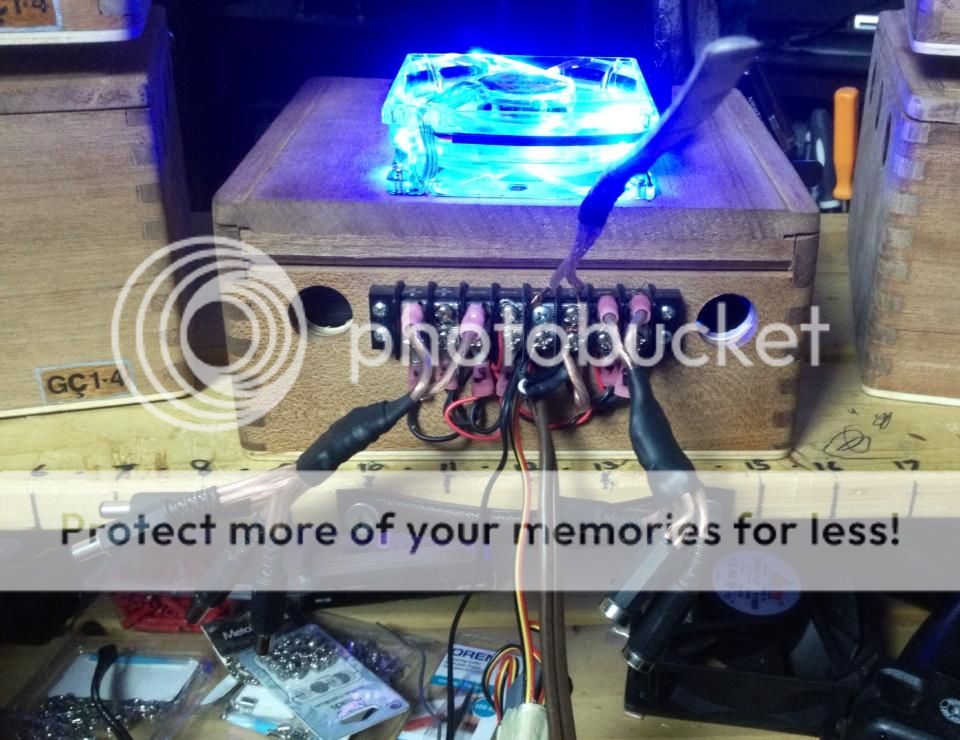
(79) Internal working of the control box. Contains three power supplies, 24Hr Timer, the two control units, manual on off switch for lights, Two indicator lights to indicate when the humidity fans or circulating fans are running and a fan mounted to the top of the box to run 24Hrs a day to keep the electronics cool!

(80) All wiring connections made on the back of the box for a clean install.
(81) The Model # is GC1-4. My initials followed by a 1 to indicate the first unit I built followed by a 4 to indicate it is a 4 box system. Again, I can build these for anyone who would want a little cheaper alternative to the other big three custom humidification builders.

Next will be the install of all the circulation fans and humidification boxes, so stay tuned!
(64) Cutting and splicing in extension leads for the LED lights that will run from shelf to shelf. Pretty easy, just cut the strip on the little scissor lines. Then with a razor blade cut through the silicone coating.

(65) Be careful not to cut through the circuit board. Only enough to clear the silicone and uncover the contacts.

(66) Tin the wire ends.

(67) Also Tin the contacts on the light strips. Tinning both the wires and contacts is a key part to getting a good Solder Joint. If you have a cold joint, which is where it melts to one side and not the other the lights will not work!

(68) Soldering complete with the wires and contacts melted together. Tug on the connection to make sure it is good.

(69) Add a little silicone to the connection to make it water tight and apply Shrink Wrap.

(70) Installing lights in cabinet. You can see the jumper wire extensions I had to add in on the sides for the distance between each shelf. The two wires in the center will connect to the back of the control box.

(71) 1,200 LED lights installed with two 600 LED Light Strips!

(72) All lit up! The indicator lights in the box have since been toned down a bit, as well, as can be seen in latter pics.

The next set of pics is a bit of a surprise I have been working on. I didn't want to mention it until I knew I could do it and make it happen. So, after having originally deciding to go with a Habitat Monitor and researching the only three custom Active Humidifying Systems on the market at $300 - $500 plus I decided to design my own. I can also custom make these for anyone who would want a active system. Lot of work and time in this, but I'm dang proud of it!!!
(73) Introducing the GC1-4 Humidification System!

(74) All the humidification fans in the boxes will be connected with DC plugs for a clean install and ease of removing the boxes for water refills.

(75) One of the boxes with fan installed and before the silicone treatment to seal it.

(76) Each unit was first lined with a thin layer of silicone then three coats of Plasti Dip followed by another thin skin coat of silicone. Very, very water tight. Each box holds just over two quarts of water for a total of 2 1/2 gallons for the system. I will be using humidification crystals in these, as well.

(77) For those who might be seeing this an don't know exactly how it all works, the fans will blow across the water forcing moist air out of the breather holes in the boxes, thus humidifying the air inside the cabinet.

(78) The brains of the system is ran by a Willhi Humidity and Temp Controller. This will kick the box fans on at 69% Humidity and off at 71% or whatever the set point is. It was within .03 accuracy by the salt test right out of the box! The Temp Controller can control a heating and/or cooling unit. I will have it hooked to the AC Unit in the room with the probe inside the cabinet and set to kick on at 70 degrees and off at 71.

(79) Internal working of the control box. Contains three power supplies, 24Hr Timer, the two control units, manual on off switch for lights, Two indicator lights to indicate when the humidity fans or circulating fans are running and a fan mounted to the top of the box to run 24Hrs a day to keep the electronics cool!

(80) All wiring connections made on the back of the box for a clean install.

(81) The Model # is GC1-4. My initials followed by a 1 to indicate the first unit I built followed by a 4 to indicate it is a 4 box system. Again, I can build these for anyone who would want a little cheaper alternative to the other big three custom humidification builders.

Next will be the install of all the circulation fans and humidification boxes, so stay tuned!
XxMerlinxX
I am a leaf on the wind...
- Joined
- Aug 3, 2006
- Messages
- 366
That's some awesome work. Can't wait to see a pic of it filled to the brim.
Light this!
Licensed to Kill
- Joined
- Nov 27, 2011
- Messages
- 1,941
Nice work brother and kudos for creativity. It appears like all those boxes and the control unit are going to take up a lot of precious humi realty? How much heat is that control box going to put out?
Pugman1943
Well-Known Member
- Joined
- Jul 15, 2009
- Messages
- 7,727
Well, I'll be. Talented son of gun. What is the height of the boxes and how much cu.in. Will one CG-1 protect? Can you share the cost of the controller and just one unit? Unlike the other guys, I don't want to see it filled, I already have tears in my eyes just with the humi.
Goble
New Member
- Joined
- Apr 20, 2014
- Messages
- 11
Don't know exactly on the heat. It will give off a little, but I don't forsee it putting off enough to effect this large of a space very much. The boxes are 6"x7"x4" and hold 2.25 quarts of liquid water per box. They are actually Acid Kuba Kuba boxes that I modified and repurposed. I went with the Acid boxes, due there use of heavy 1/4" Spanish Cedar wood and superior construction with Dovetail Joints and such. With that being said Acid has several different size boxes that could be used. I could do a customized set and forget humidifying box, (Acid box size of your choice) humidity controller box plus controller all wired up and ready to go ( Plug & play) with wire length of your choice for $134.95 with each additional box at $44.95.
")